Installing new flooring can transform your space, but it’s essential to be fully prepared to ensure the process goes smoothly. Whether you’re installing hardwood, laminate, vinyl, or tile, following a structured plan will help avoid delays, mistakes, and unnecessary stress. At Soho Forest Flooring, we’ve created the ultimate flooring installation checklist to guide you through every step, from consultation to completion.
Step 1: Schedule a Consultation
The first step in any flooring project is a consultation. At Soho Forest Flooring, we’ll sit down with you to discuss your vision, budget, and the specific needs of your space. Here’s what to expect:
- Initial evaluation: We assess the room(s) where the flooring will be installed, identifying any potential issues (e.g., uneven subfloors or moisture problems) that may need to be addressed.
- Material selection guidance: Based on your aesthetic preferences, lifestyle, and traffic in the area, we help you choose the best flooring material, whether it’s durable hardwood, easy-to-clean vinyl, or another option.
- Measurement and cost estimation: Accurate measurements of your space ensure precise material ordering and installation cost estimates.
Common Question: “What should I bring to the consultation?”
- Bring photos or samples of the décor style you like, your room measurements if available, and a rough idea of your budget. This will help our team tailor recommendations to your needs.
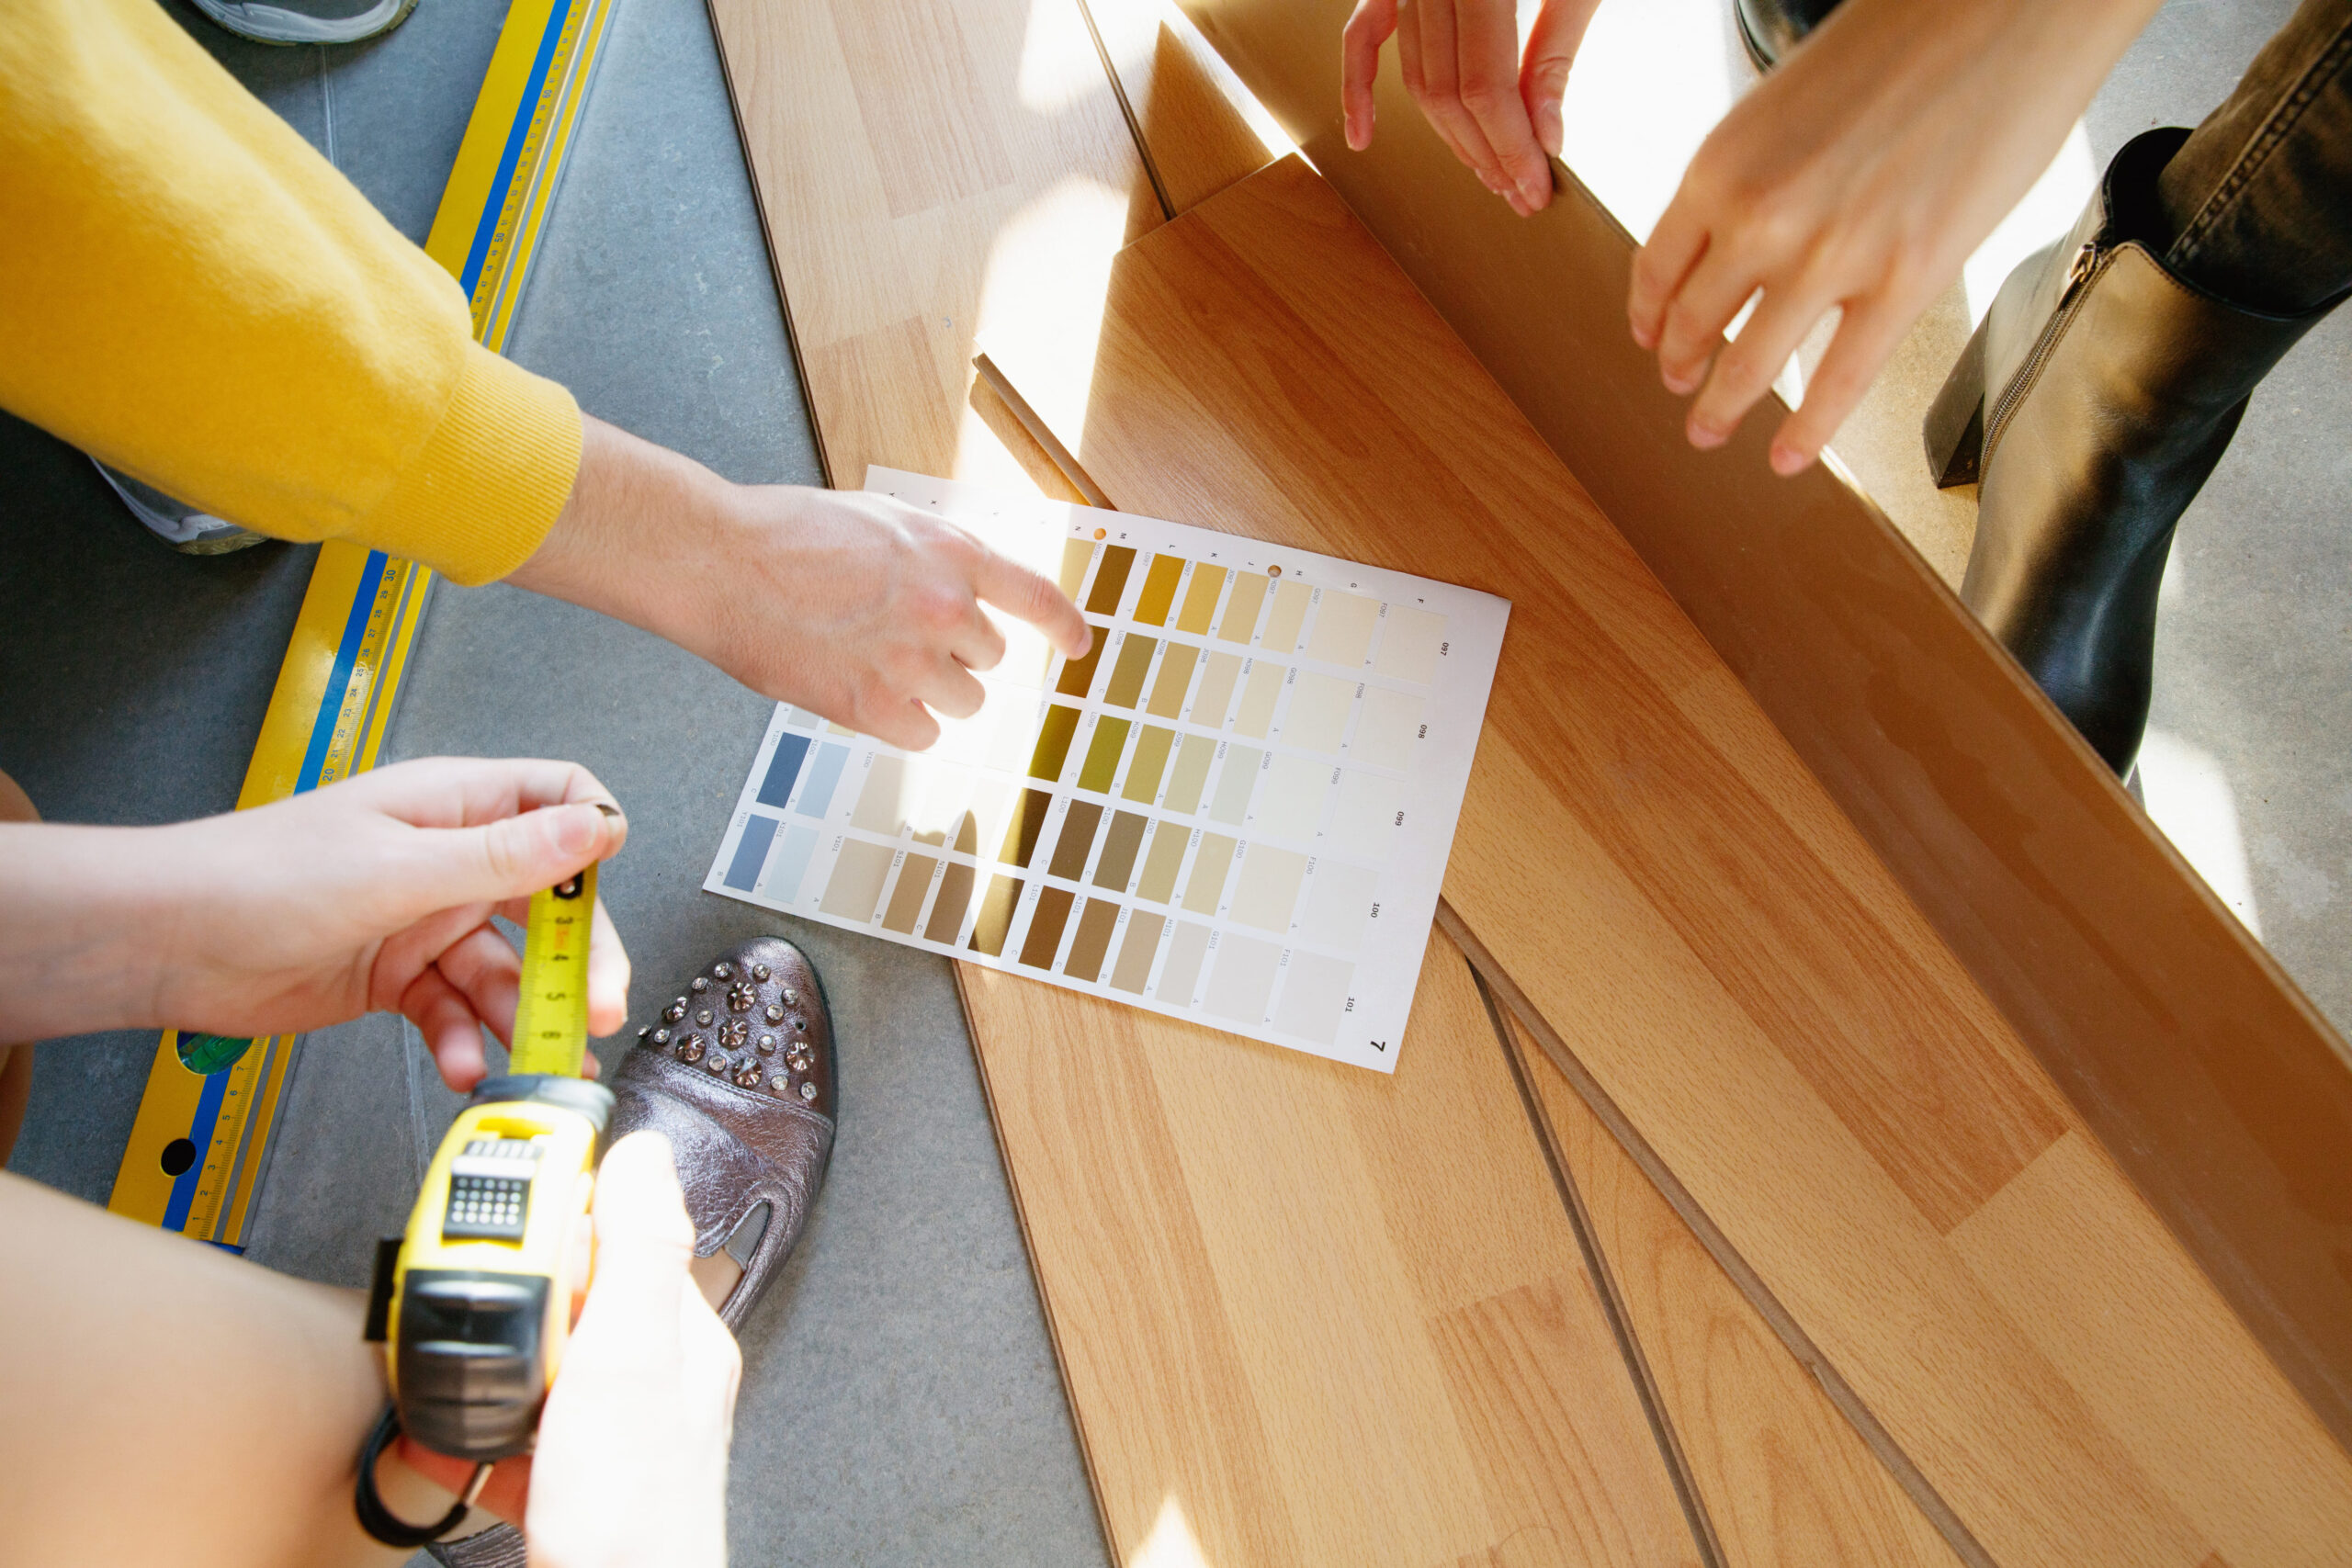
Step 2: Choose the Right Flooring Material
Selecting the right flooring is critical to the success of your project. Here are some key considerations when choosing materials:
- Traffic level: High-traffic areas like kitchens, hallways, and entryways will need durable flooring such as luxury vinyl plank (LVP) or tile, while lower-traffic rooms can handle softer materials like carpet or engineered wood.
- Style and color: Consider how the flooring will complement your existing décor and furniture. Lighter floors make rooms feel larger, while darker tones add warmth and elegance.
- Durability: For homes with pets or children, scratch-resistant and water-resistant materials like laminate or LVP are ideal.
- Budget: Calculate the cost of materials per square foot, including potential costs for underlayment, trim, and installation.
Common Question: “What’s the best flooring for high-moisture areas like bathrooms?”
- In moisture-prone areas, opt for water-resistant materials like tile, LVP, or water-resistant laminate to avoid damage.
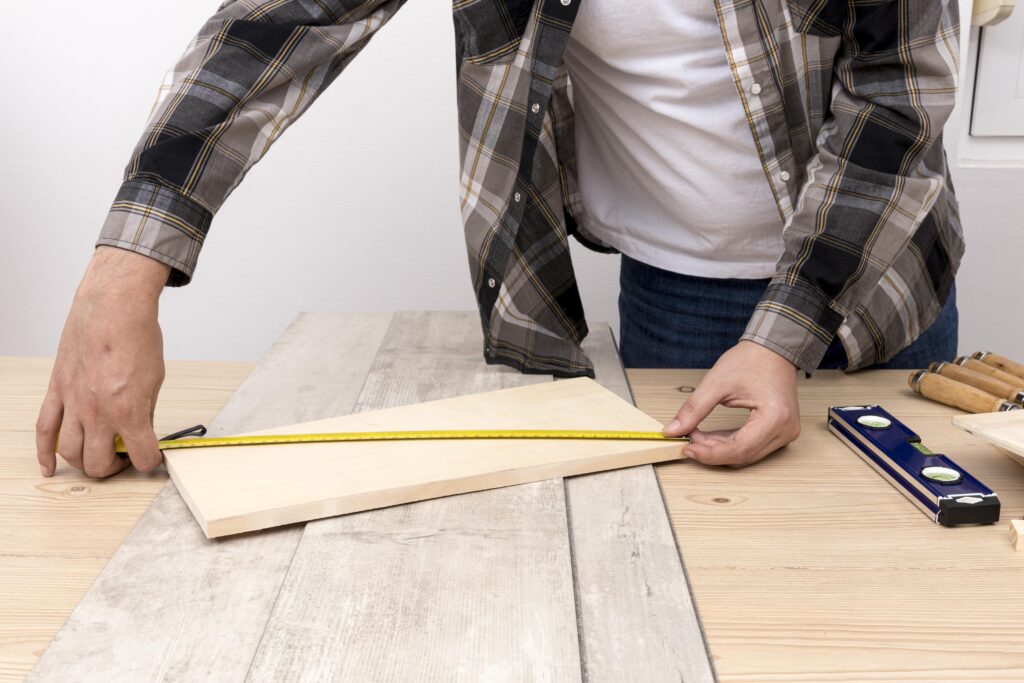
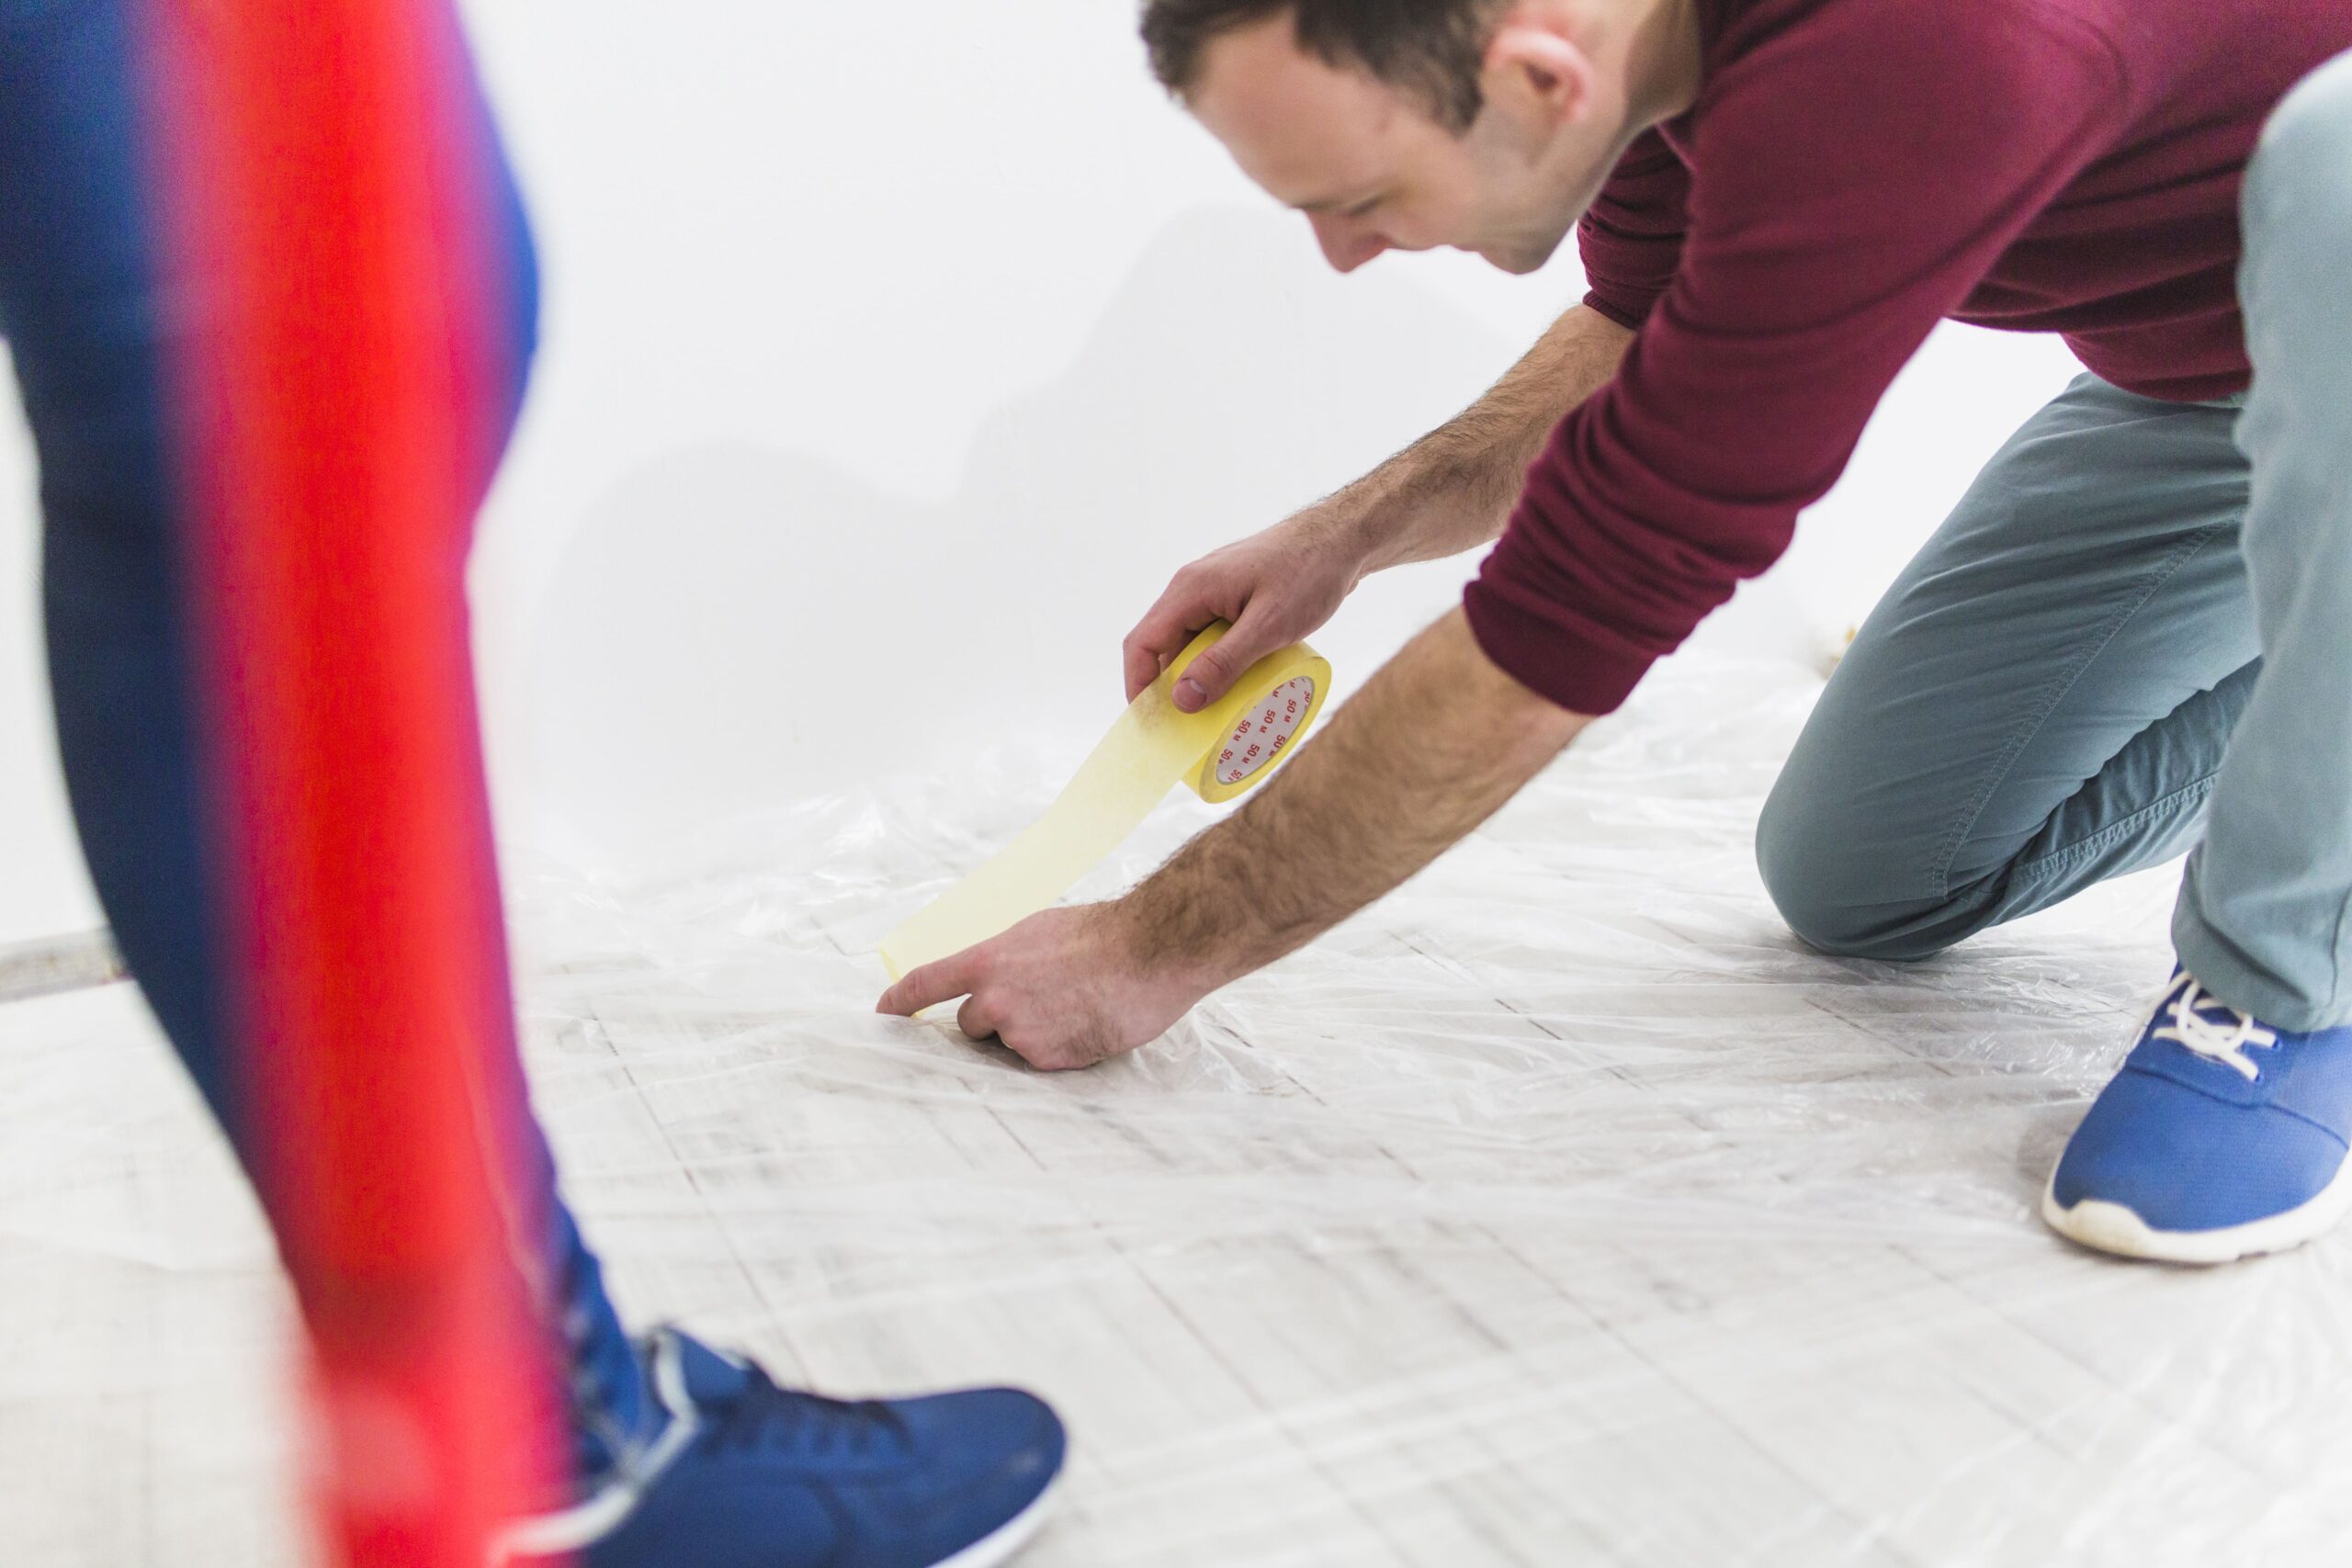
Step 3: Prepare Your Space
Before installation day, your space needs to be properly prepared to avoid complications and ensure a smooth process. Here’s what you’ll need to do:
- Clear the area: Remove all furniture, décor, and other items from the installation area. You may also need to move appliances if flooring is being installed in the kitchen.
- Check for floor readiness: Ensure the subfloor is clean, dry, and level. If it’s uneven or damaged, it may need to be repaired before installation.
- Arrange for door removal: In some cases, doors will need to be temporarily removed for installation, especially if you’re installing thicker flooring like hardwood or tile.
- Secure pets and children: Keep pets and children out of the work area to ensure their safety and avoid delays.
Common Question: “Do I need to remove the old flooring before installation?”
- In most cases, the old flooring should be removed before installation. However, certain materials like LVP or floating floors can sometimes be installed over existing floors, depending on the condition.
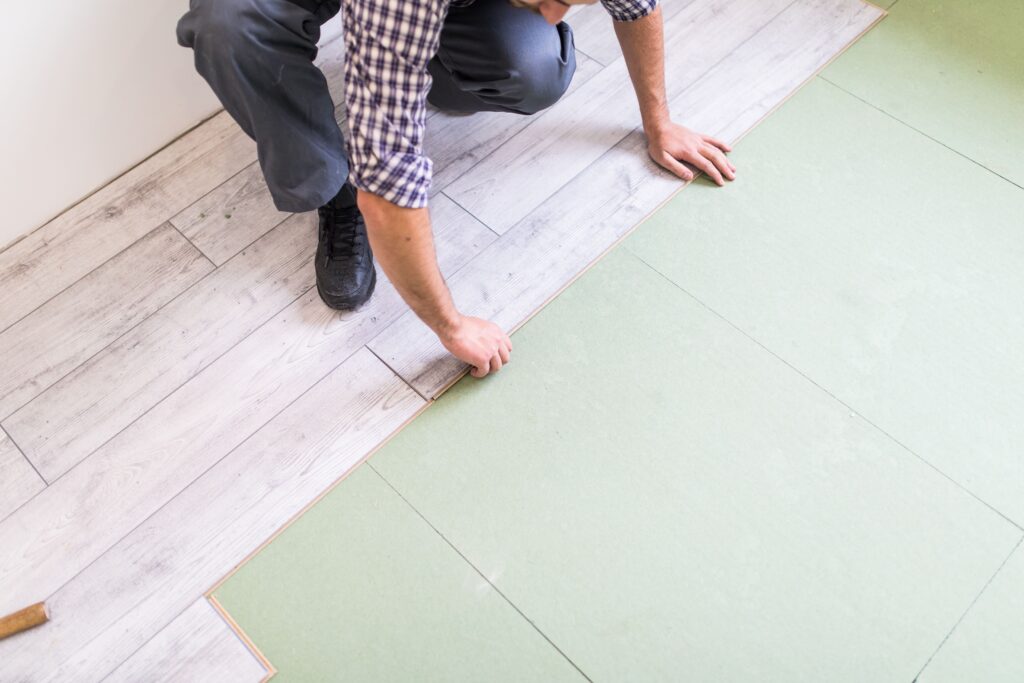
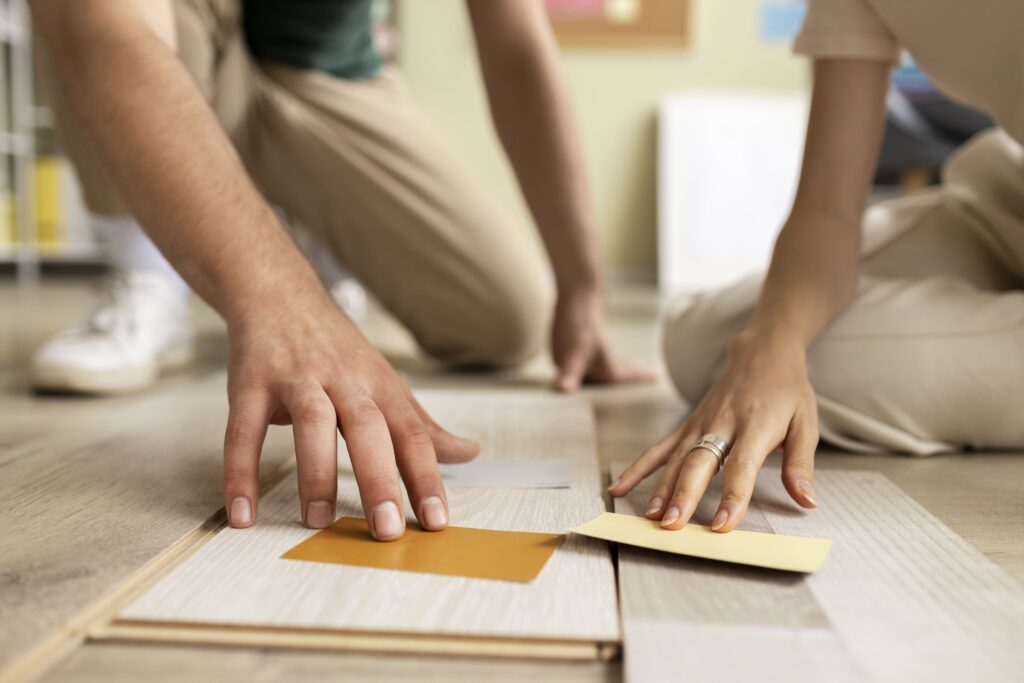
Step 4: Installation Day
The big day has arrived! Here’s what to expect during the installation process:
- Installation timing: Flooring installation typically takes 1-3 days, depending on the size of the space and the type of flooring. Larger projects or intricate patterns (e.g., herringbone) may take longer.
- Noise and disruption: Be prepared for some noise and disruption in your home or business during the installation process. Make sure to inform family members, employees, or neighbors if necessary.
- Temperature and humidity: Ensure the temperature in the room is consistent with normal living conditions (60-80°F), as this prevents expansion or contraction issues with certain flooring materials like hardwood.
Common Question: “Should I be present during the installation?”
- While it’s not required for you to be present during the entire installation process, it’s helpful to be available for questions or concerns that may arise.
Step 5: Post-Installation Inspection
Once the flooring is installed, a thorough inspection should be performed to ensure everything is completed to your satisfaction.
- Final walk-through: We’ll conduct a final inspection with you to check the quality of the installation, ensuring seams, edges, and transitions are flawless.
- Address any issues: If there are any concerns or touch-ups needed, our team will address them immediately to ensure the floor meets your expectations.
- Cleanup: After the job is complete, our installation team will clean up the work area, removing any debris, tools, or leftover materials.
Common Question: “What should I look for during the post-installation walk-through?”
- Look for gaps, uneven seams, or any potential signs of poor installation. Pay attention to transitions between different types of flooring and check that trim or baseboards are properly replaced.
Step 6: Post-Installation Care and Maintenance
After installation, proper care and maintenance are key to ensuring your floors stay beautiful for years to come. Here’s how to protect your new floors:
- Allow time for setting: For certain flooring types like hardwood or tile, avoid walking on the floor for 24-48 hours after installation to allow adhesives or finishes to set.
- Regular cleaning: Follow the recommended cleaning routine for your specific flooring type, whether it’s sweeping, vacuuming, or mopping.
- Add protective measures: Place felt pads under furniture legs to prevent scratching, and use area rugs in high-traffic areas.
- Maintain humidity levels: For hardwood or other sensitive materials, maintain indoor humidity levels between 35-55% to prevent warping or gaps.
Common Question: “When can I move furniture back after installation?”
- It’s best to wait 48 hours before moving furniture back into the room, especially for materials like hardwood or tile, to allow for proper setting and curing.
Conclusion: A Smooth Flooring Installation Experience
By following this comprehensive checklist, you’ll be well-prepared for a seamless flooring installation experience from start to finish. At Soho Forest Flooring, we’re committed to delivering high-quality service and ensuring that your flooring project exceeds your expectations.
If you’re ready to get started or have any questions about your upcoming installation, contact us today to schedule a consultation with one of our flooring experts.